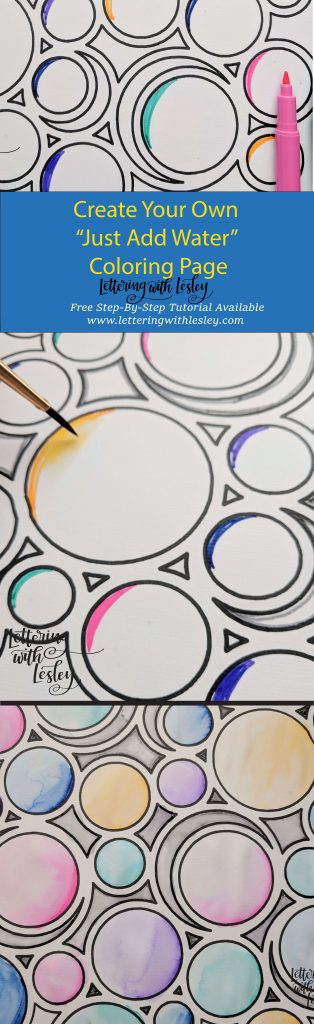
Do you remember those old fashioned coloring books that were just add water? They had some kind of polka dot ink that you added a wet paintbrush too and made magic. I loved doing them and as an adult, I realize my mom liked them because they didn’t involve getting out paints and less mess.
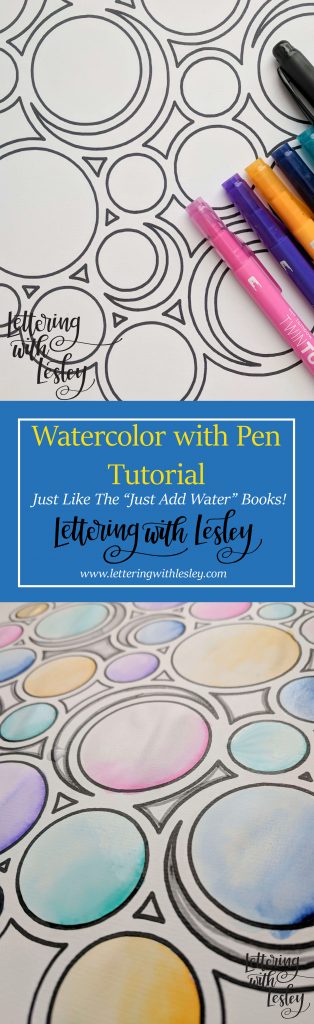
I haven’t seen one in a long time and I think my son would love to do it! So, I figured out a way to make my own using Tombow Monotwin pens and Tombow Twin Tones! This does take a few minutes of prep, but it isn’t bad, I promise! These markers are an excellent pair, because the ink of the Monotwin is alcohol-based and the Twin Tones are water-based. What that means is, when you add water, the black Monotwin stays put. However, the Twin Tones dissolve and turn into some beautiful paint. You can spread the ink around the space to create a solid color or an ombre effect!
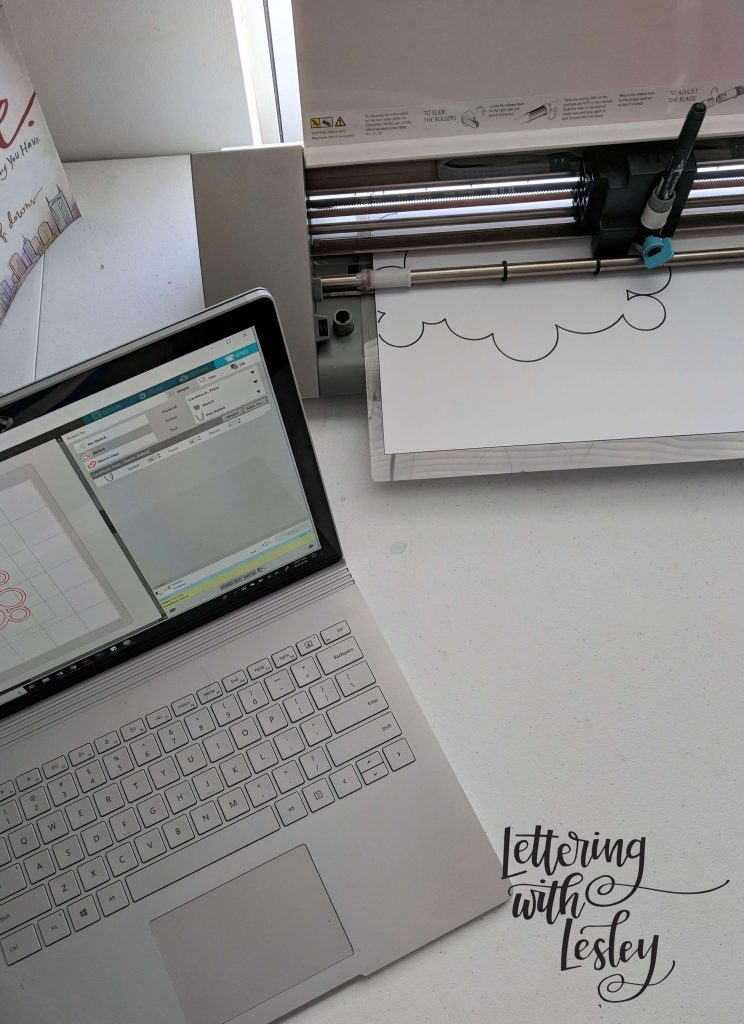
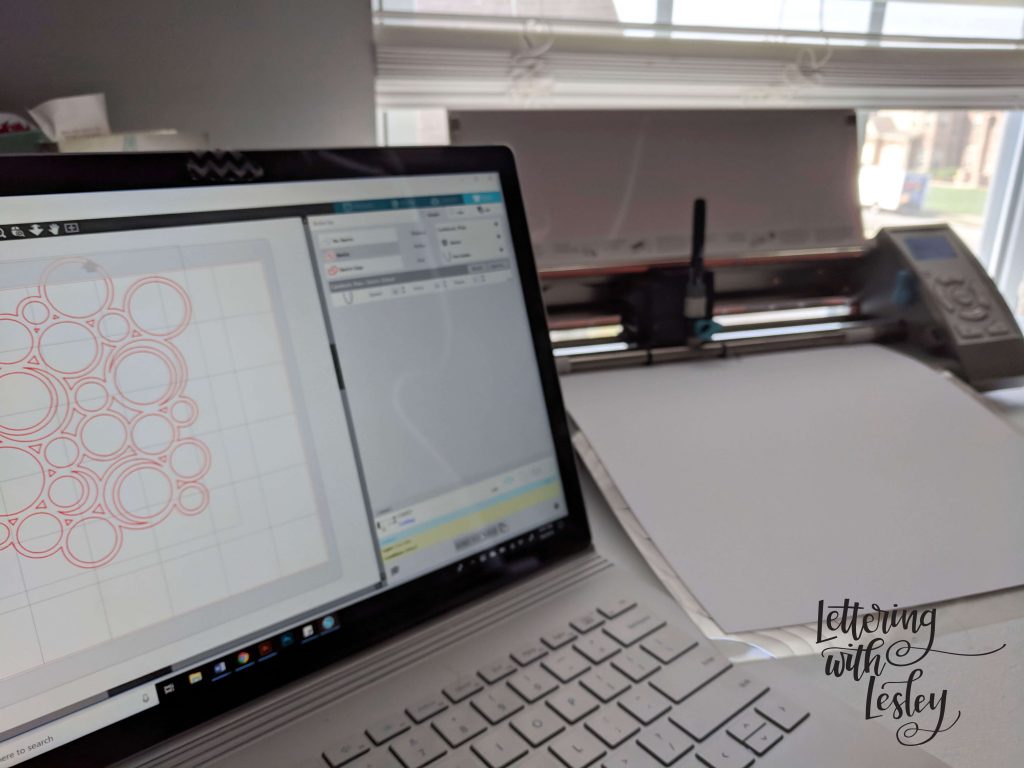
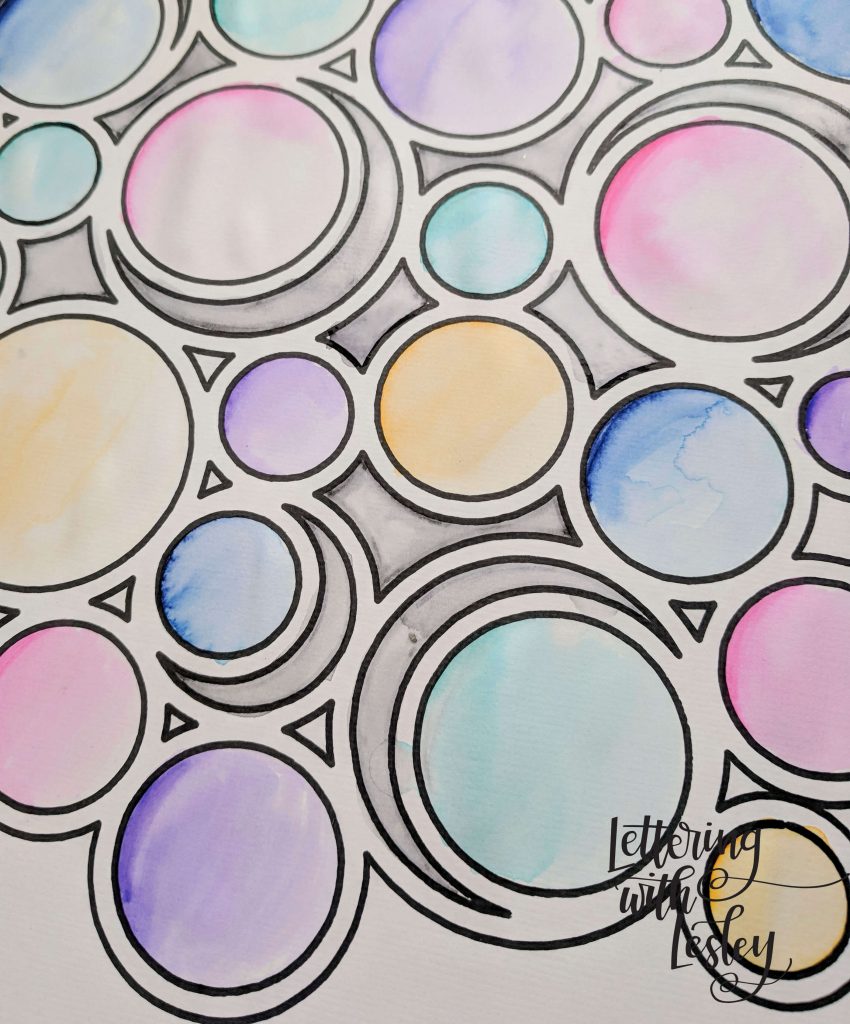
I created this backdrop on a sheet of cardstock using my Silhouette Cameo and pen holder. Once the Cameo was finished drawing, I left it on the cutting mat to make it a bit more stable while I painted.
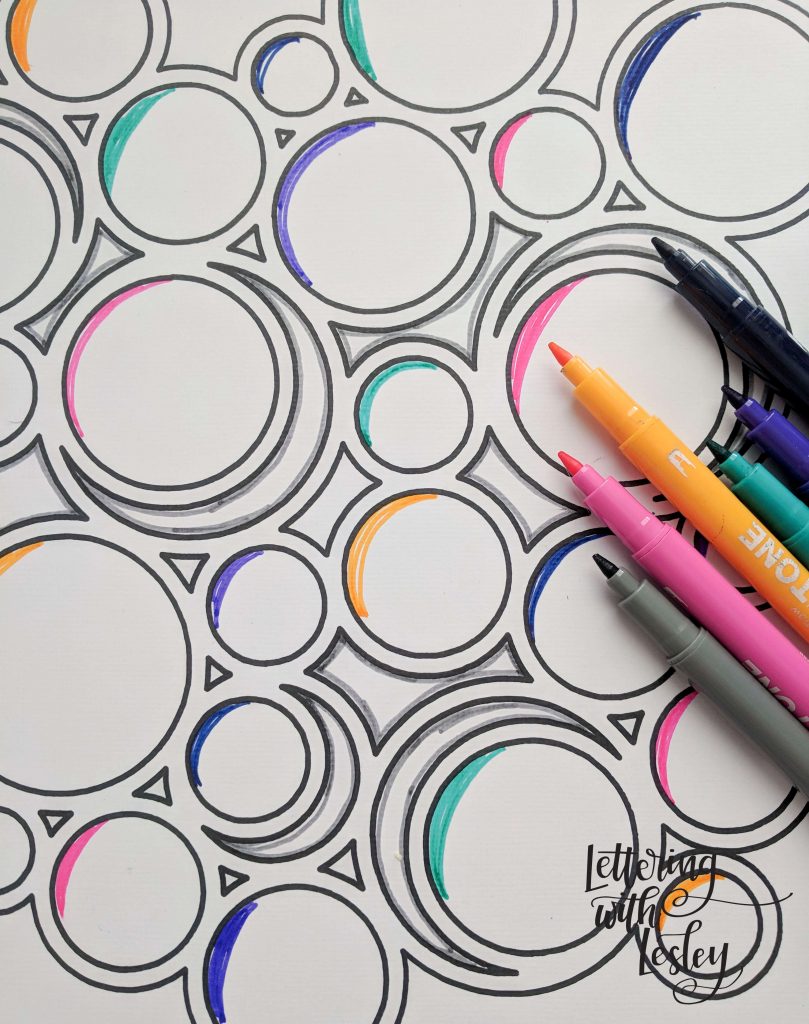
In the circles, or other shapes, I traced around the edges using the Twin Tones. If you want the whole shape to be one consistent color, trace all the edges. You may want to take a few laps around if it is a larger shape to ensure you have enough ink. If you are looking for an ombre shapes, make a few lines on one side of the shape.
![]()
![]()
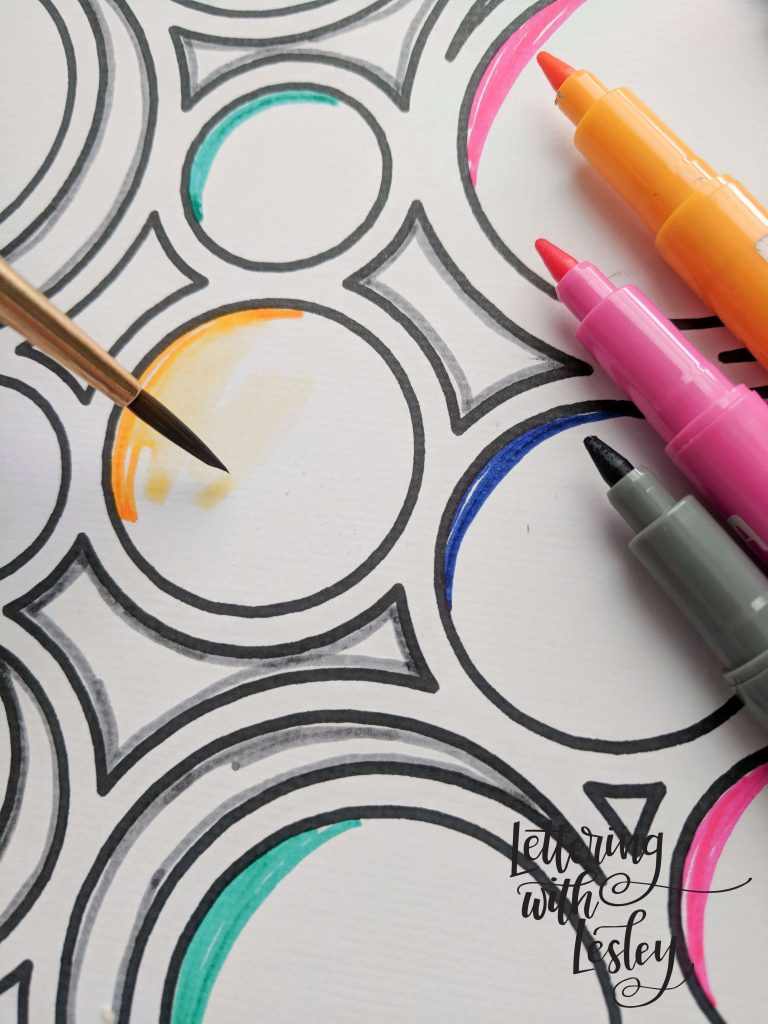
The next step is to grab your paintbrush and plain water and get to coloring. Move the paintbrush over the color a few times to dissolve the hard lines of the ink and start pushing the paint around To create an ombre shading, paint half the circle with the ink. Then, slowly pull the ink over to the opposite side so it will be a bit lighter. Make sure you are going slowly so that you are in control of the color movement.

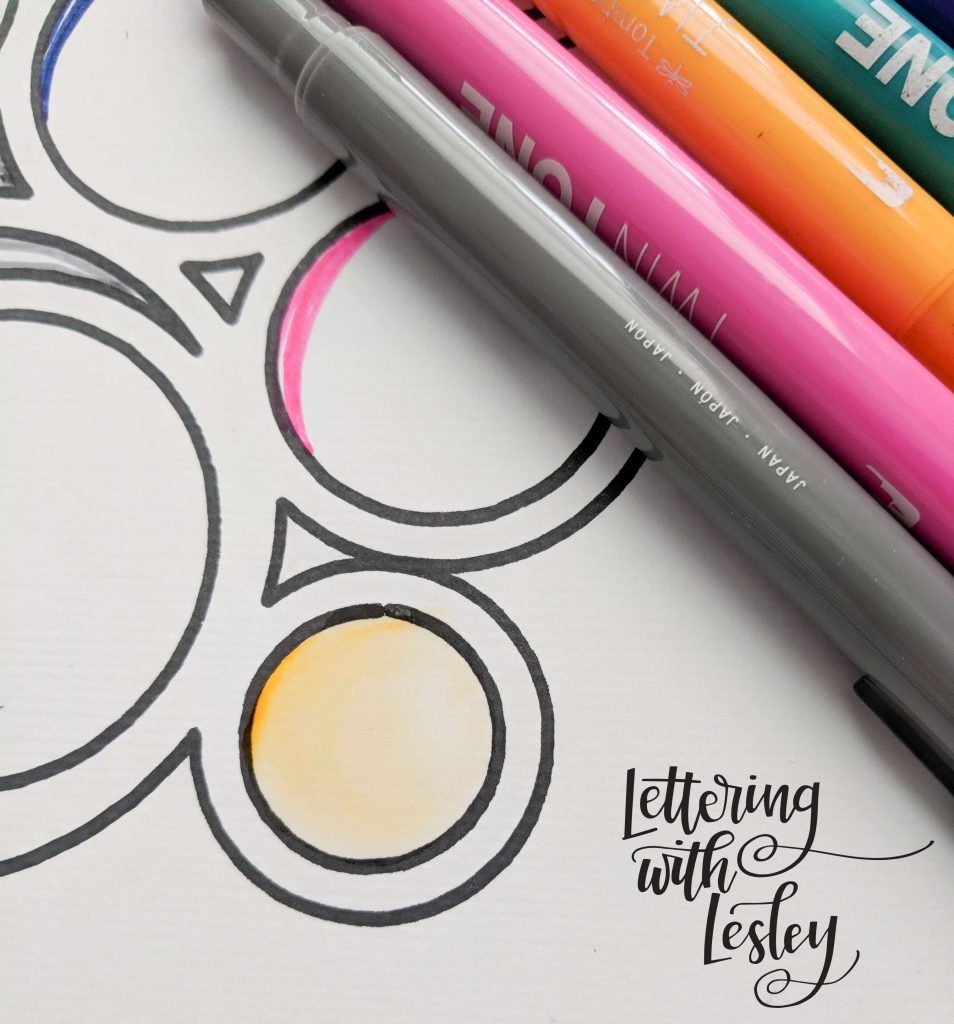
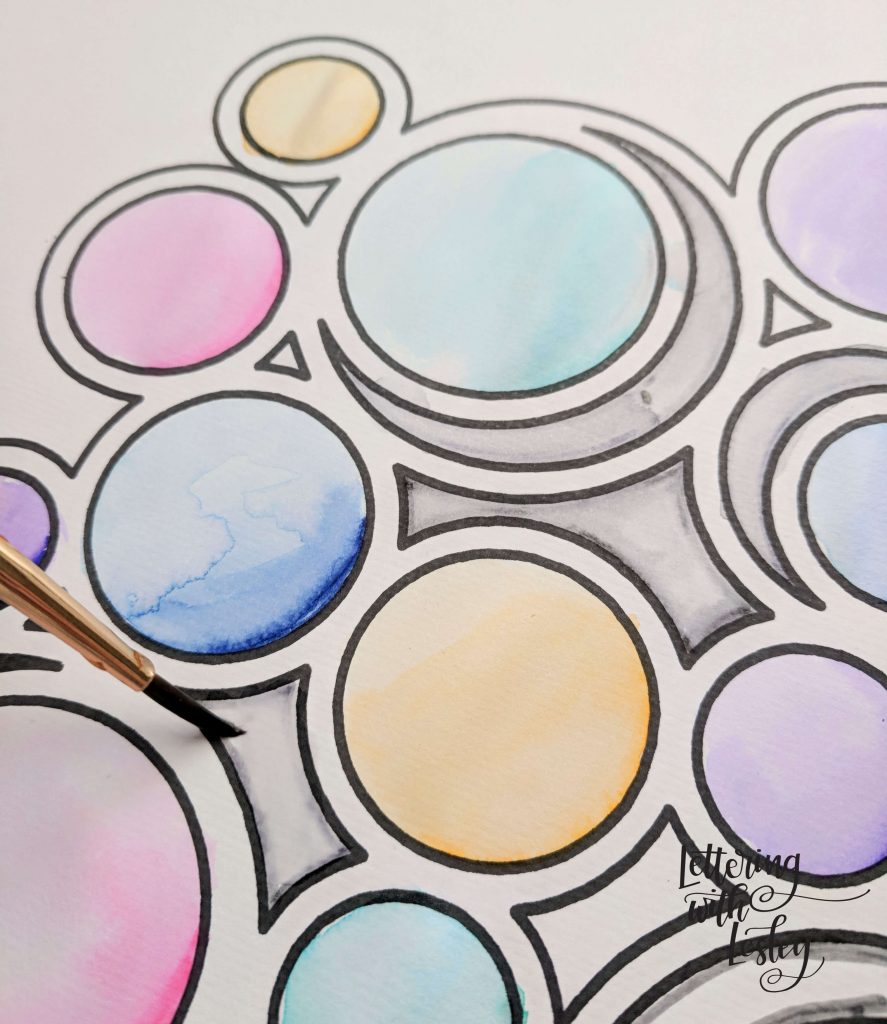
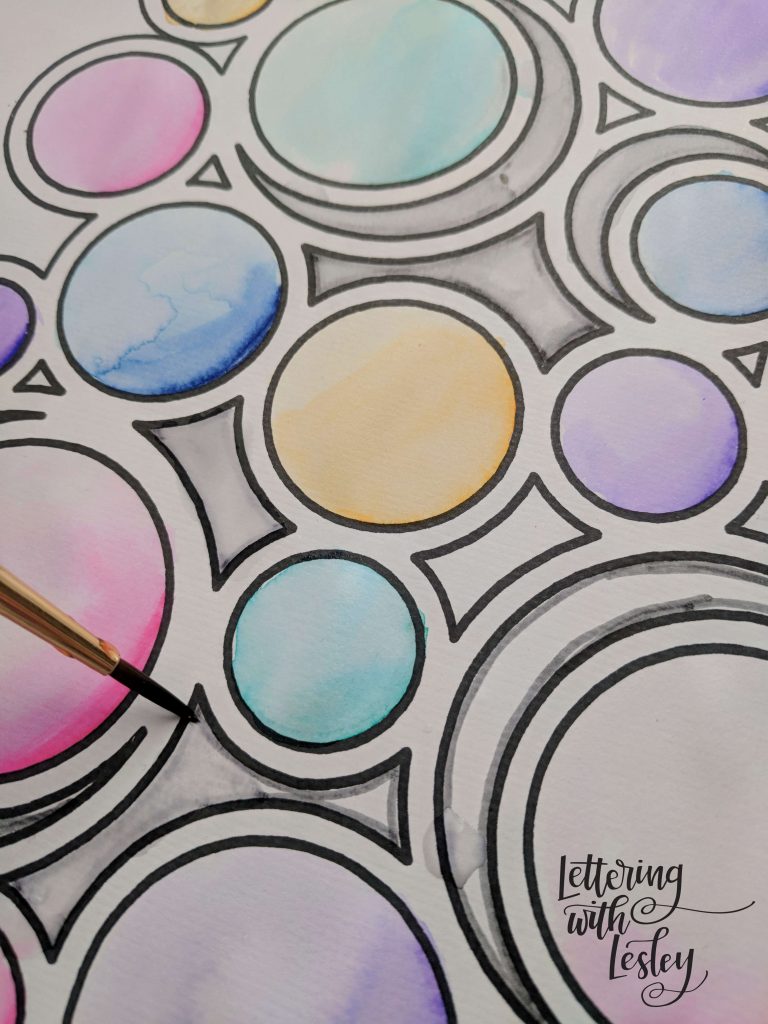
If you still have a noticeable line of ink, you might want to add a little more water to the original ink line to help dissolve it. Then, sit back and let it dry! Depending on the amount of water, it is usually a pretty quick process… like 10-15 minutes.
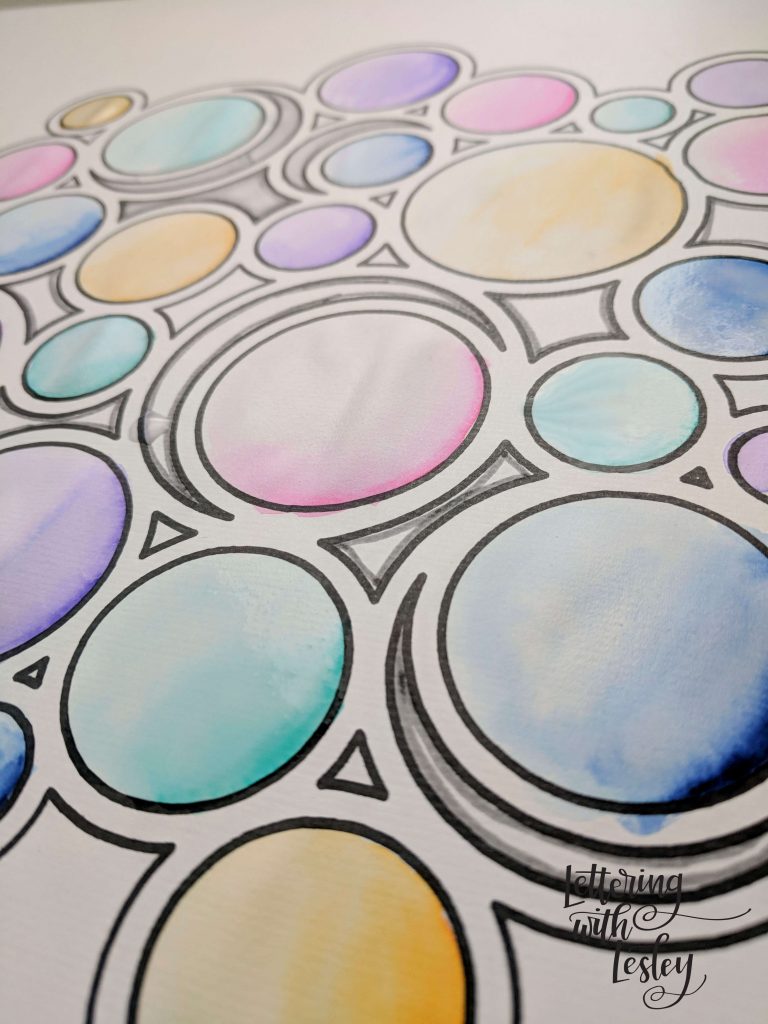
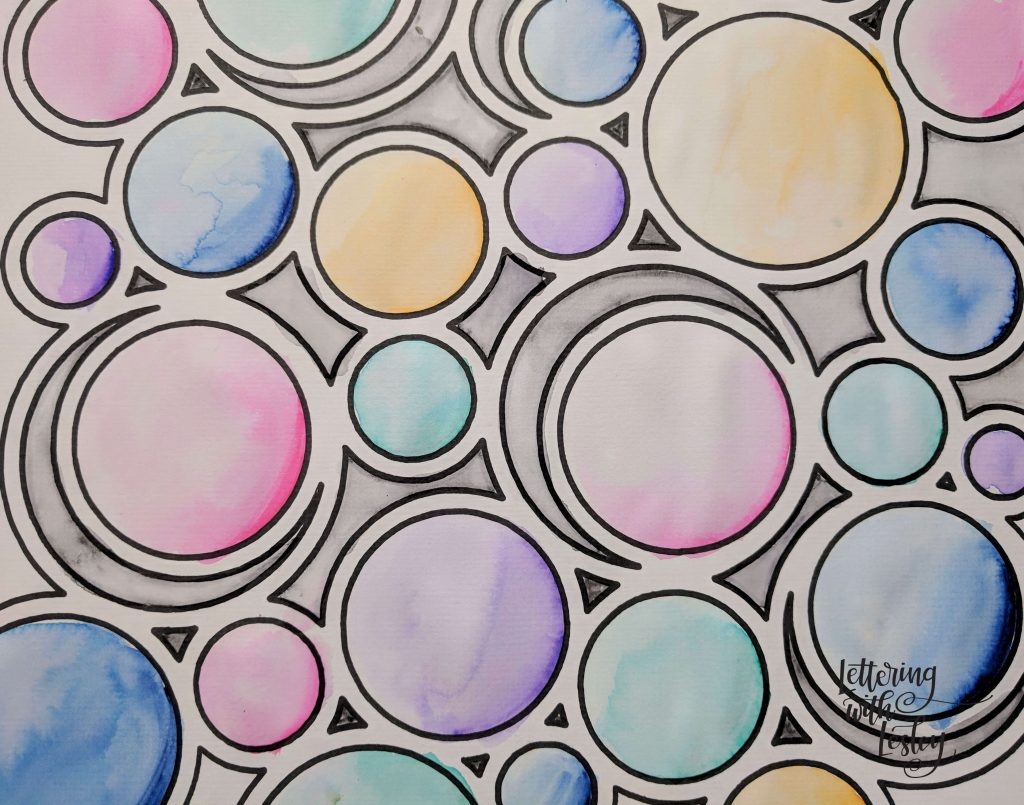
This is a great way to create a scrapbook pages and backgrounds, journaling cards (hey project lifers!), and greeting cards! I turned my background into some 3×4 and 4×6 inch journaling cards for my scrapbooks.
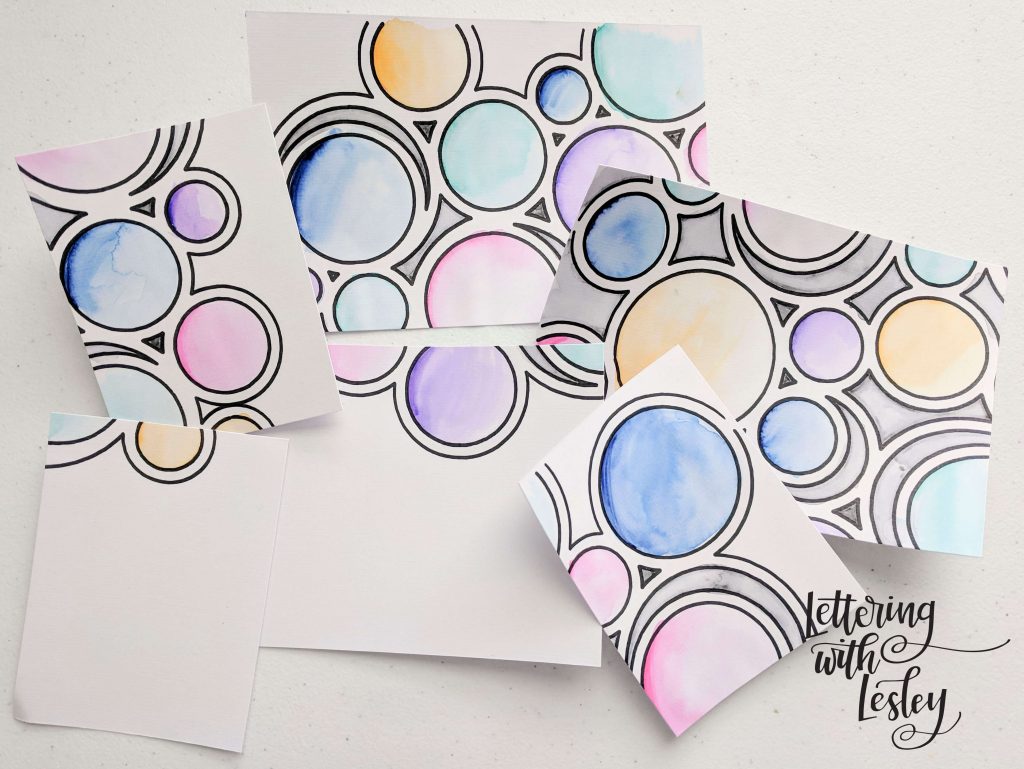
I was thinking about making a few with trucks and cars for my son. Using the same process, I would draw the images (and by me, I mean the Cameo) and I will outline them in ink. Then, Anderson can add a little water and paint away!
How would you use them? I would love to see your process – be sure to share with me and tag me on Facebook and Instagram!
Go get your letter on!