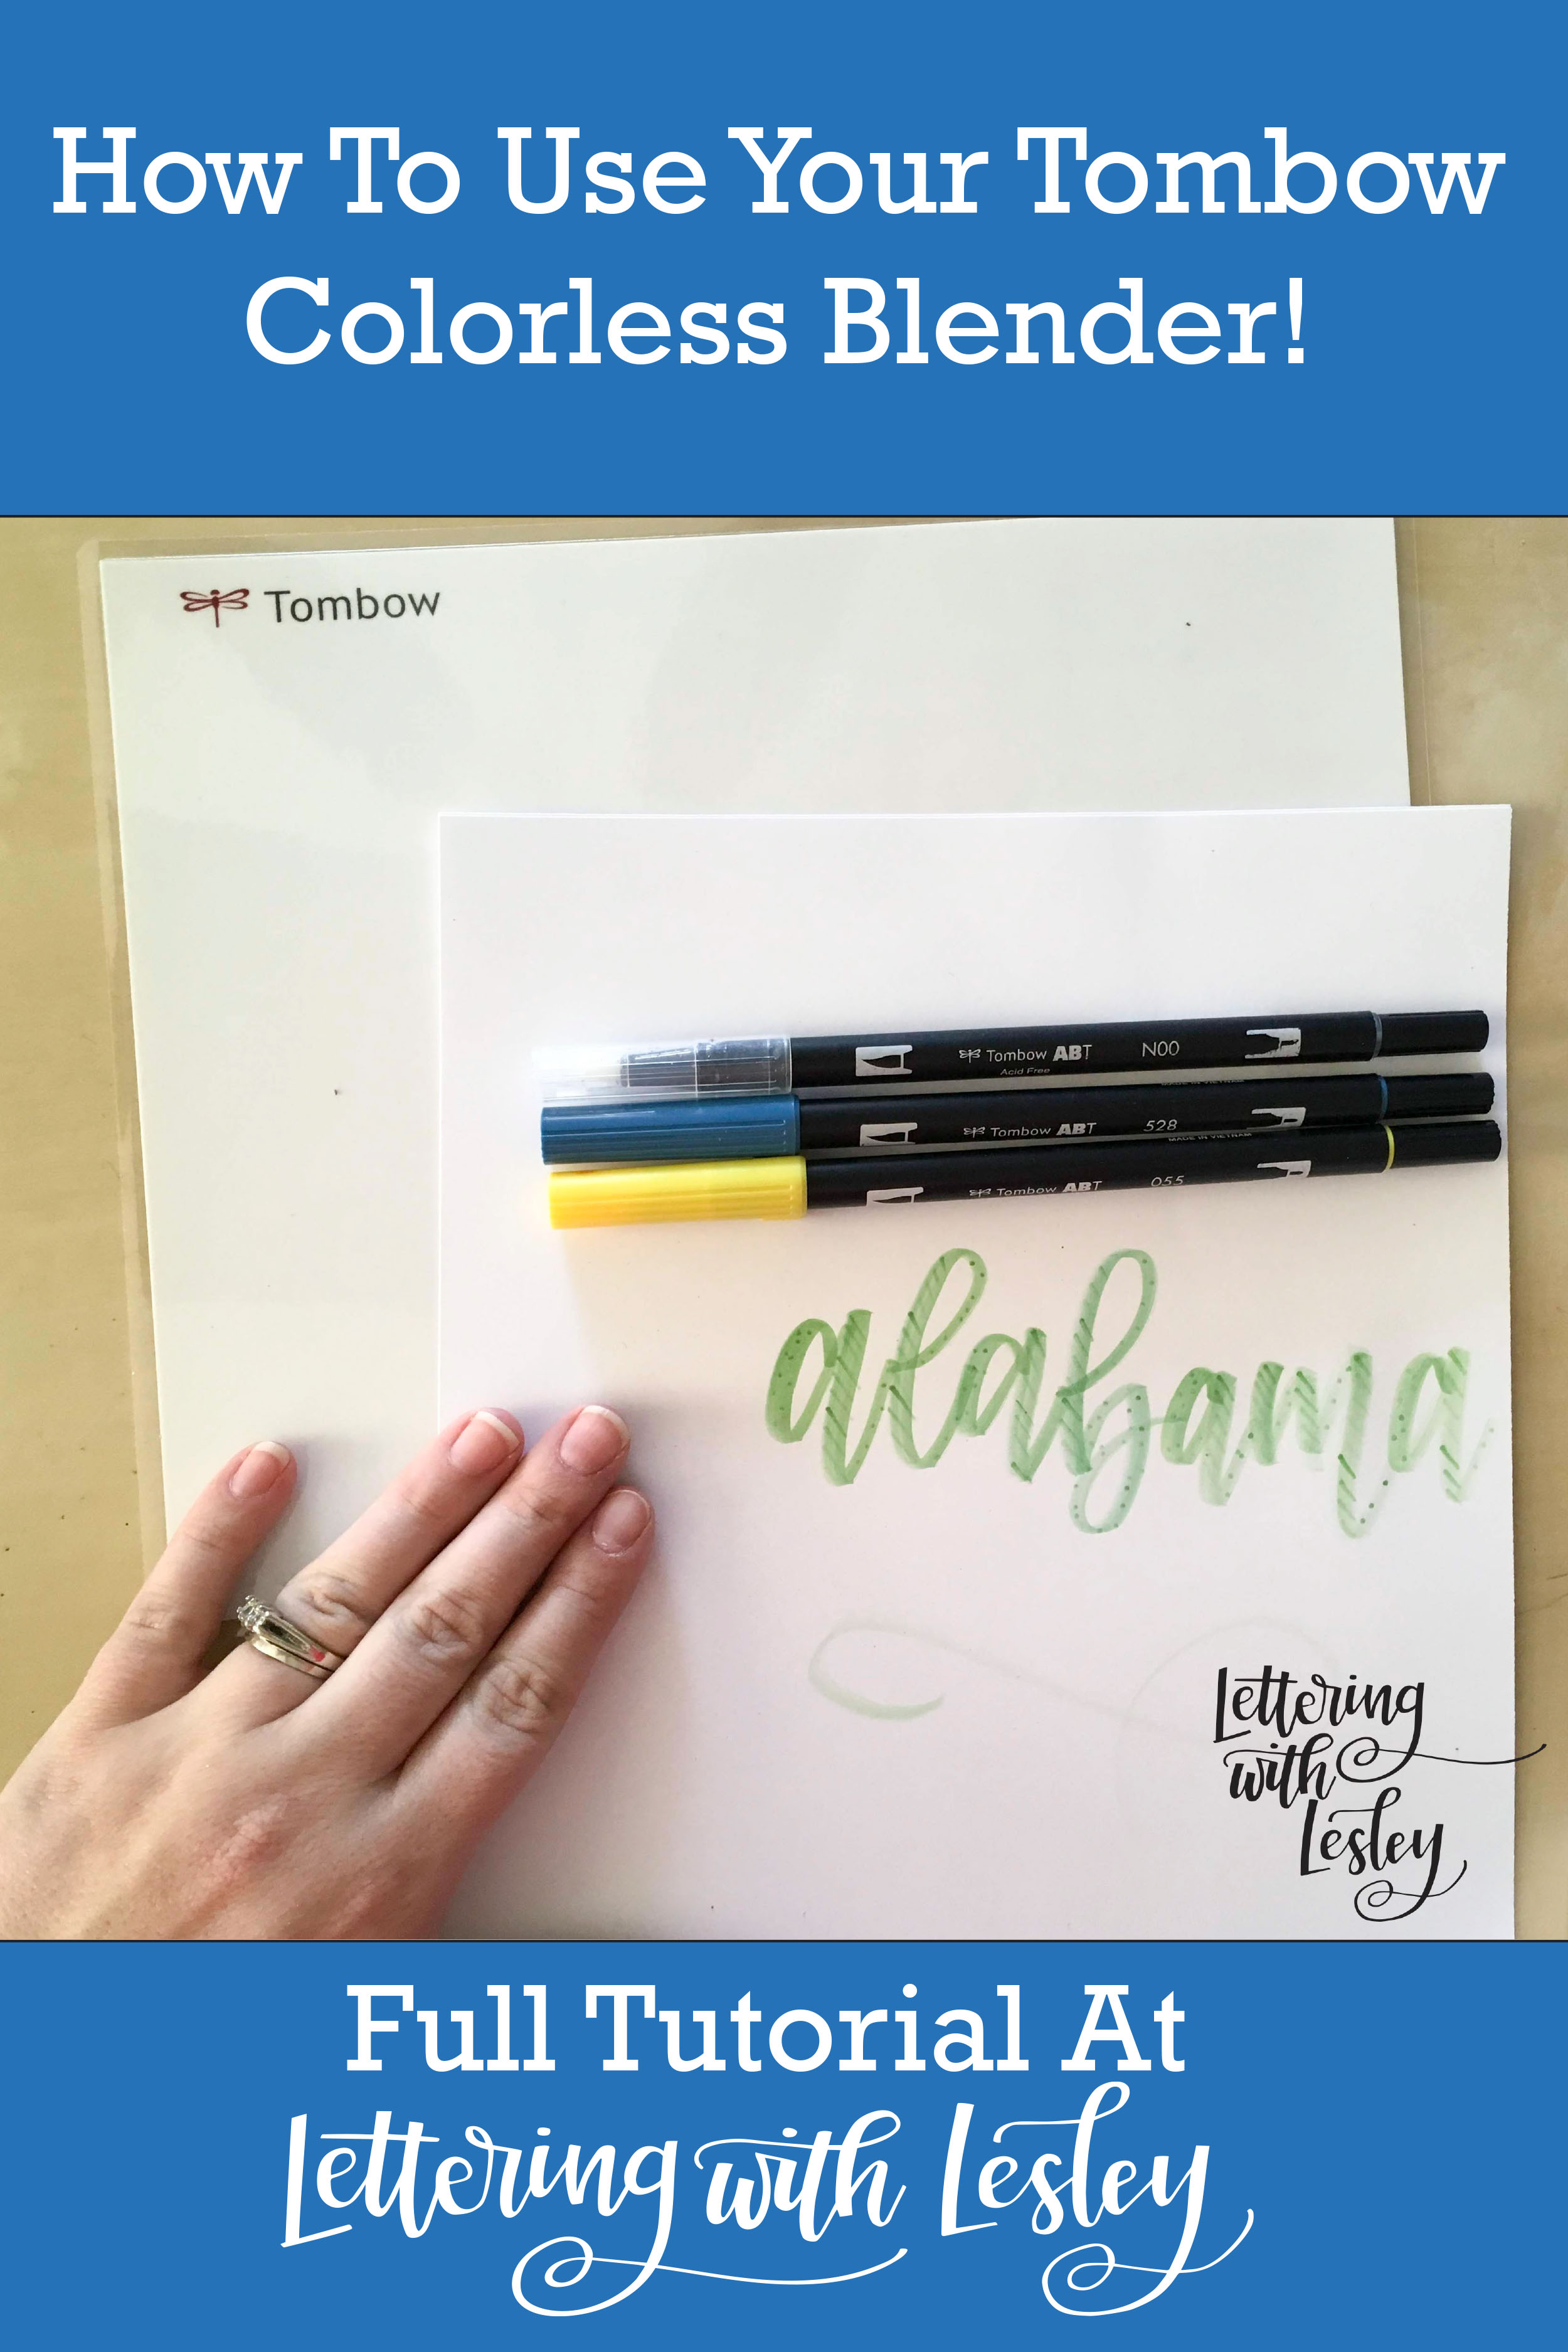
Sometimes, 96 colors just aren’t enough! Or, perhaps it is because I only have 35 or so, I feel like I am always missing one color or another. Plus, I have been looking for a really good way to use your colorless blender and I think I finally found one that I love – creating new colors! Sometimes, it is hard to find exactly what you are looking for – especially if you are color matching your lettering. Today, I am going to walk you through, step-by-step, how to create a new color and use the colorless blender to get a beautiful blended lettered piece! I have a full tutorial that you can grab right here too!
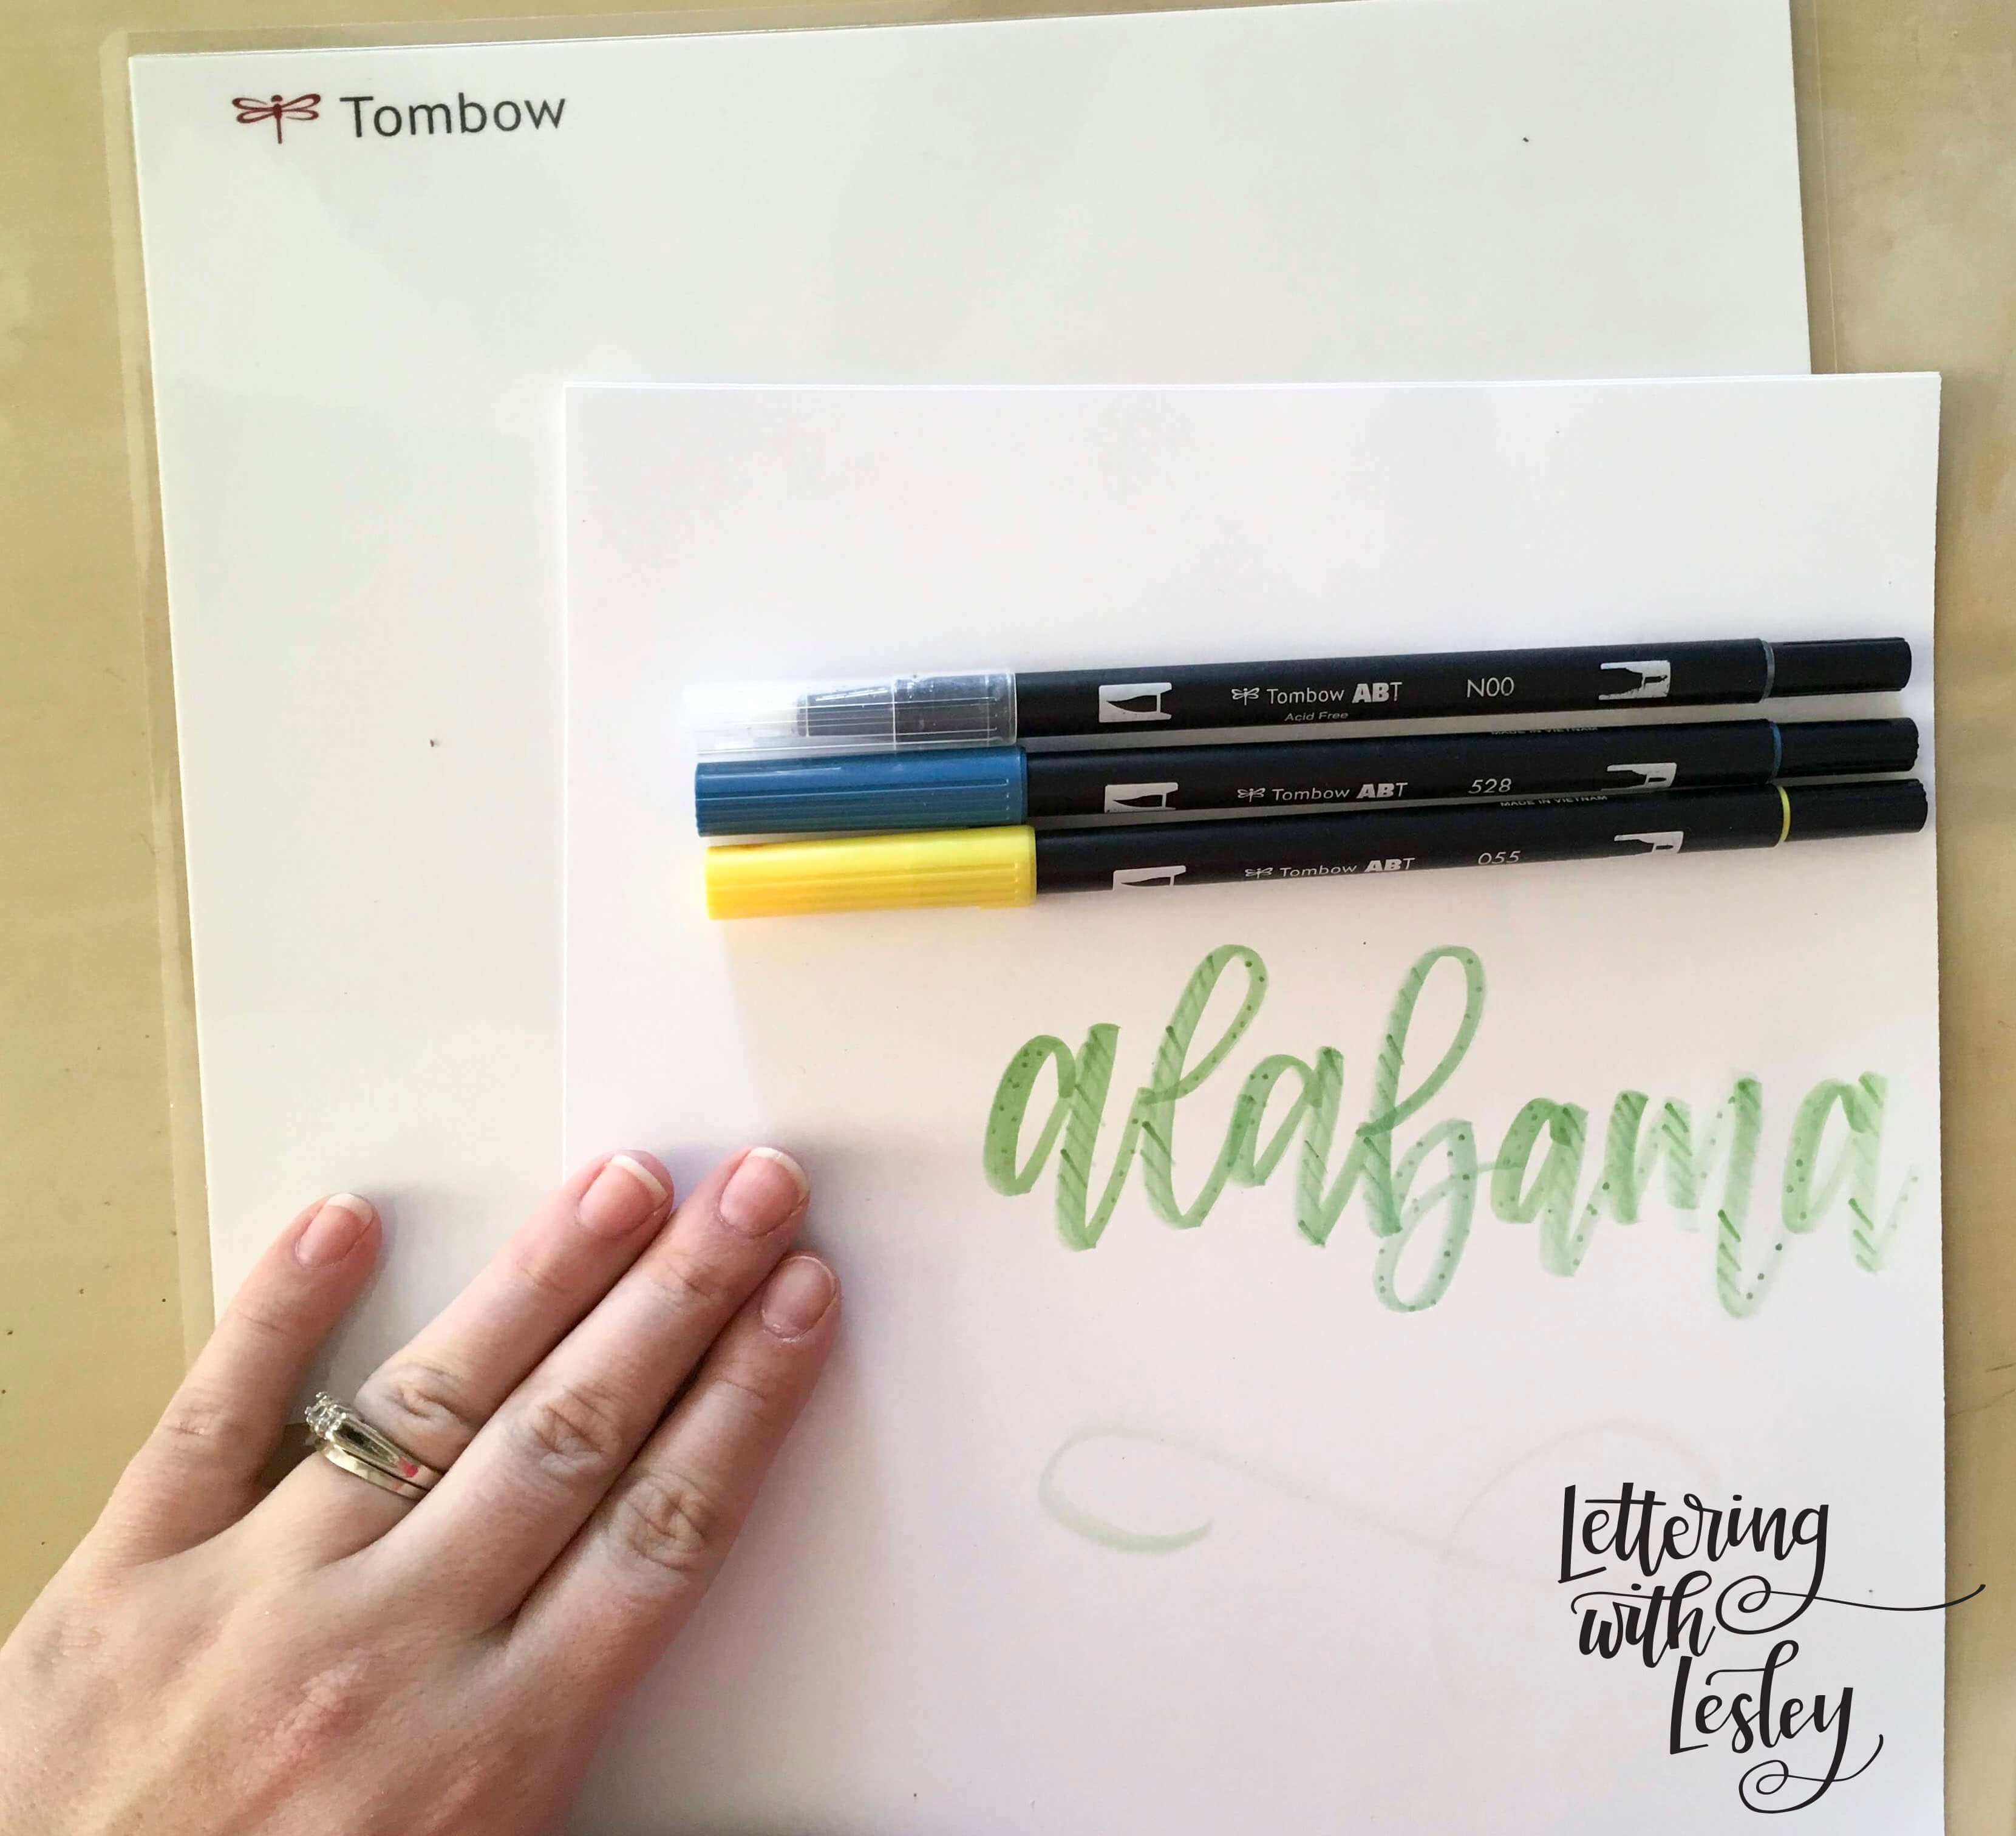
To do this, you will need a few things – two or three Tombow Dual Brush pens (you want colors that are going to blend well), a Tombow Dual Brush clear blender pen, and a plastic surface. You can use a plastic baggie, a blending palate, laminated scrap paper, or an acrylic stamp block. Anything that you have laying around will work!
I am going to be combining — and — to create a new color. I am going to scribble a little of each color on my blending palate. Then, using my colorless blender pen, we are going to squish them together until you get an even color. Your nib should be full of colored ink from mixing, so you can go ahead and write! If your color starts to fade, swipe back through the wet ink to recolor the brush. When you are finished, you just want to rub the nib until it runs clear. It may stain, but as long as it is running clear, the stain will not have any affect on the pen.
This technique also works with the bullet nib end, if you want a simple monoline look with your new pen color. Just like with the brush end, you can rub it on the paper until it runs clear to erase the remaining ink left behind.
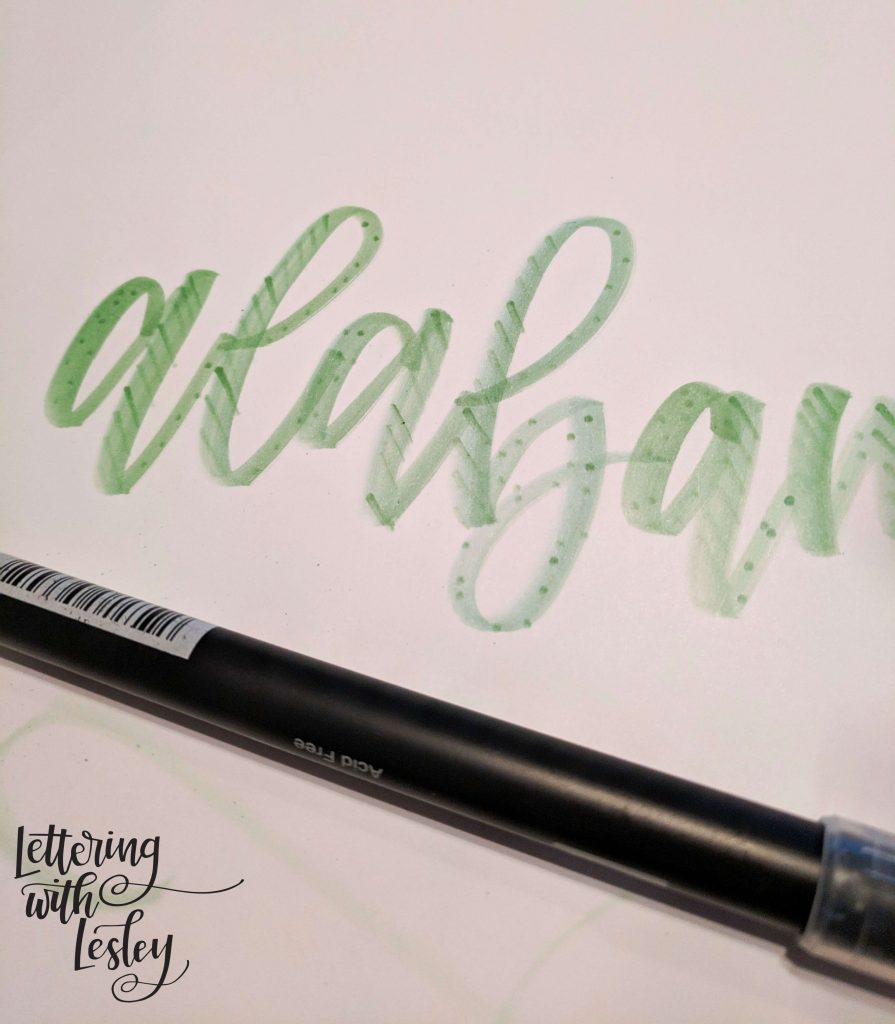
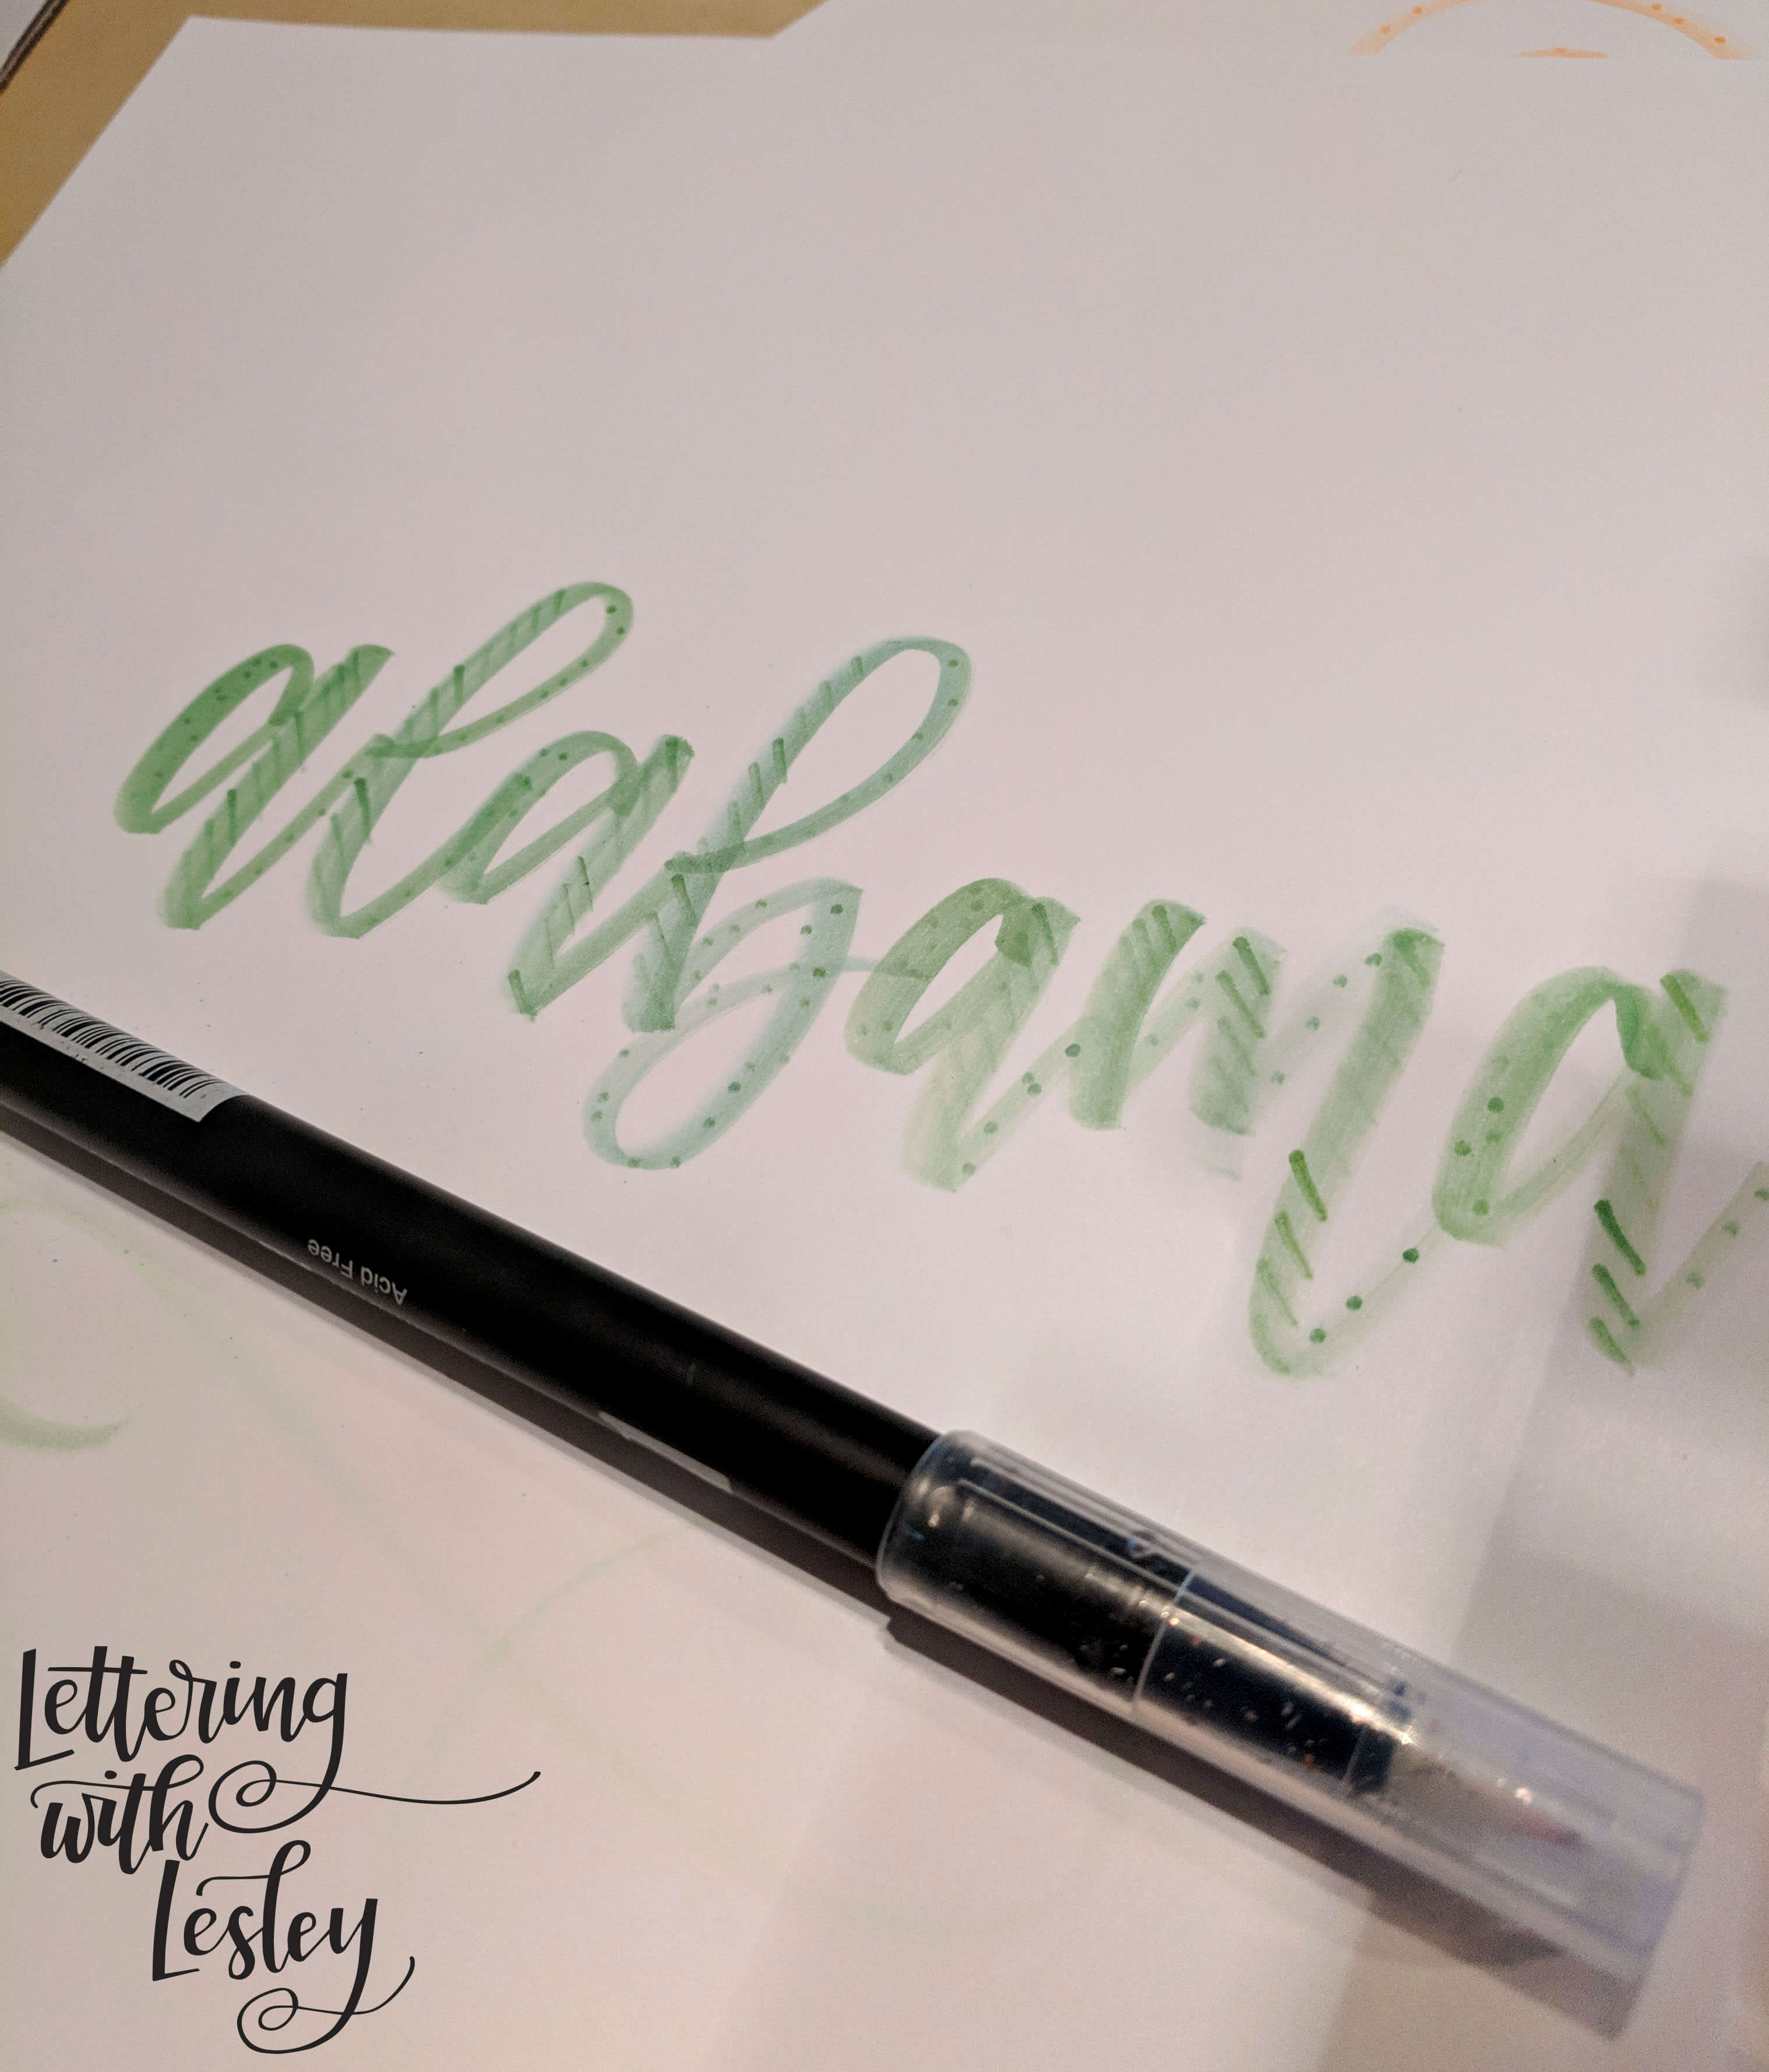
I love using the bullet tip end to add a little texture to the brush lettering. To do this, I am going to wait for my brush lettering to dry – usually just a minute or two. Then, I am going to pick up the same color with the bullet tip nib. Over the thick downstrokes, I am going to add a simple pattern. Subtle is the way to go here – so a diagonal line, some dots, a few circles, whatever makes your heart happy. It adds a little visual interest and is a great way to make the letters pop and your reader slow down to look again!
You can catch a full tutorial video right here! I am a visual learner and when I can see this done, it makes so much more sense!
I would love to see what colors you create with your new blending skills! The color possibilities are endless and full of potential! I can’t wait to see your brand new colors!
Go get your letter on,