
I love something a little bit shiny on a project – card, art print, scrapbook page or other goodie! I think it harkens back to ALL the episodes of What Not to Wear I watched as a high school and college student. Stacy and Clinton used to beat into people’s heads that an outfit needs four things to look complete: color, texture, pattern, and shine. We won’t comment on the lack of texture or shine my outfit currently has, but I do apply these four things to any project I am working on! I have found that without one of these components, I always feel like what I am working on looks a bit incomplete.
So, this tip is for adding a bit of shine. I am anti-glitter – for sure. I have a tendency to make a gigantic mess and glitter is nearly impossible to clean up. Seriously, glitter and I are just a deadly combination for a vacuum cleaner. But, I do love a little sparkle or shine! So, I am always looking for ways to add a little something else, without glitter. I have always been a fan of the glossy pages or embellies that come in scrapbook kits and now I know how to make them on my own! All it takes is a little bit of glue – who knew!
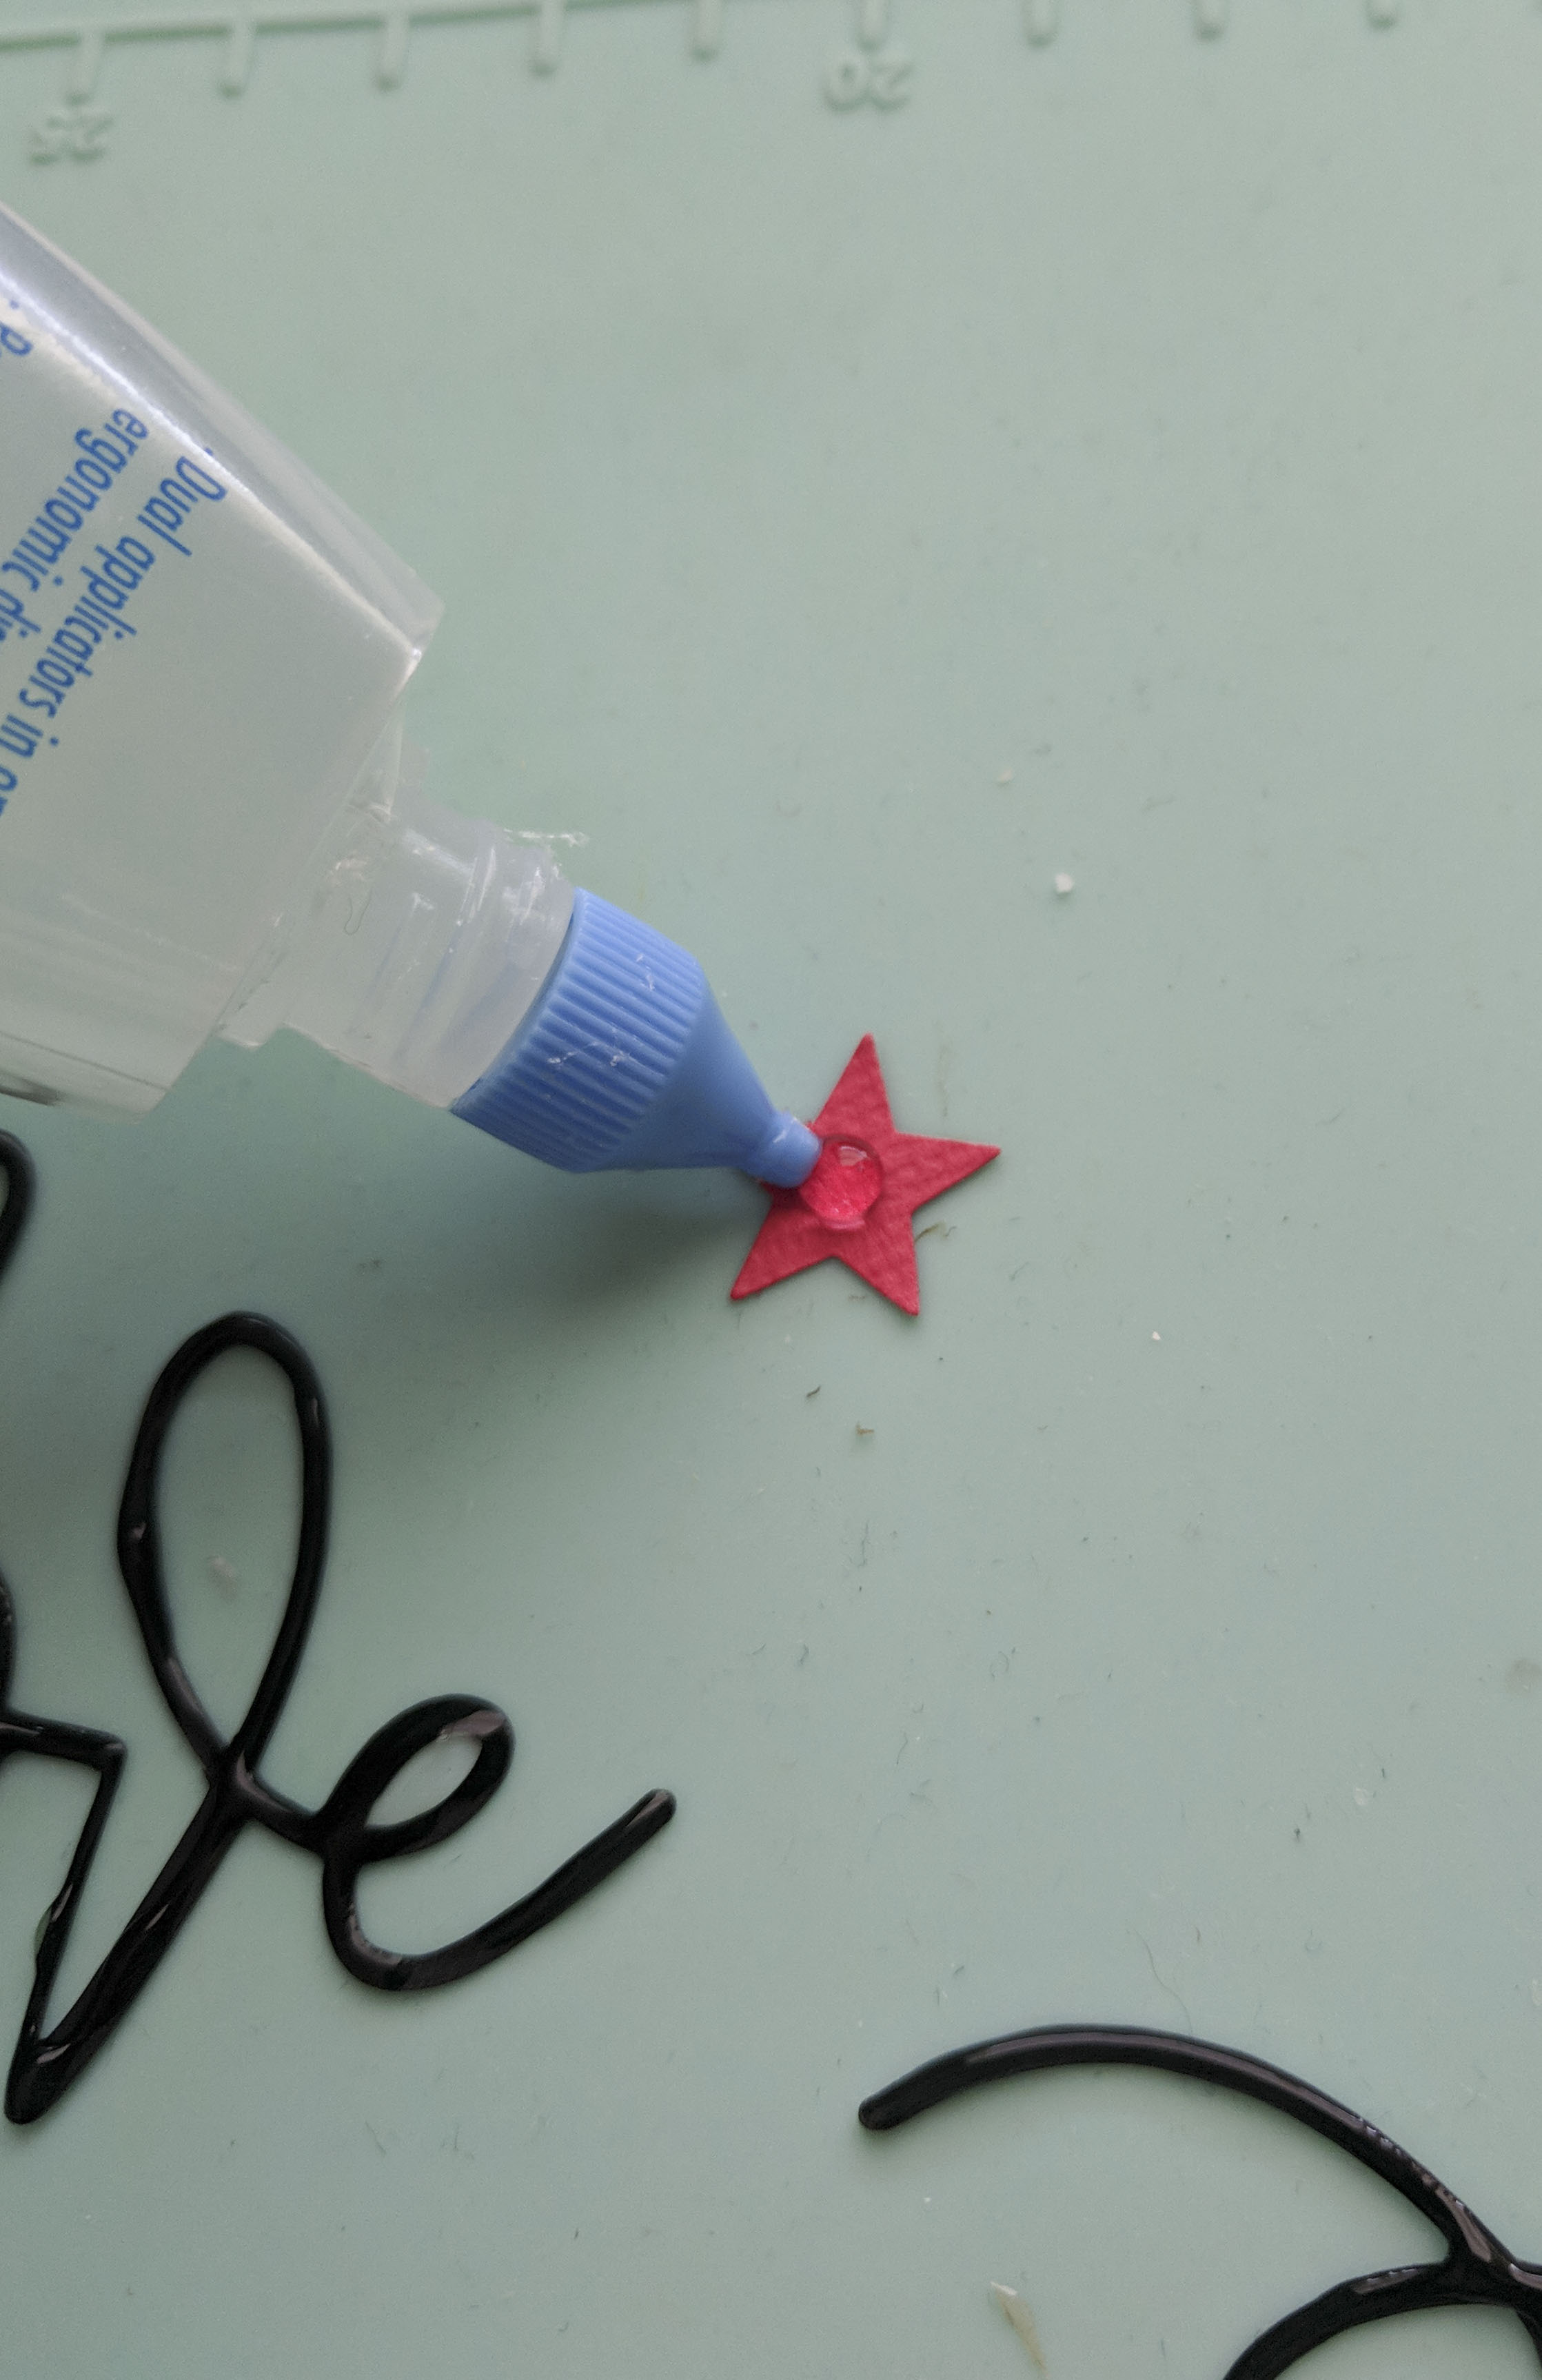
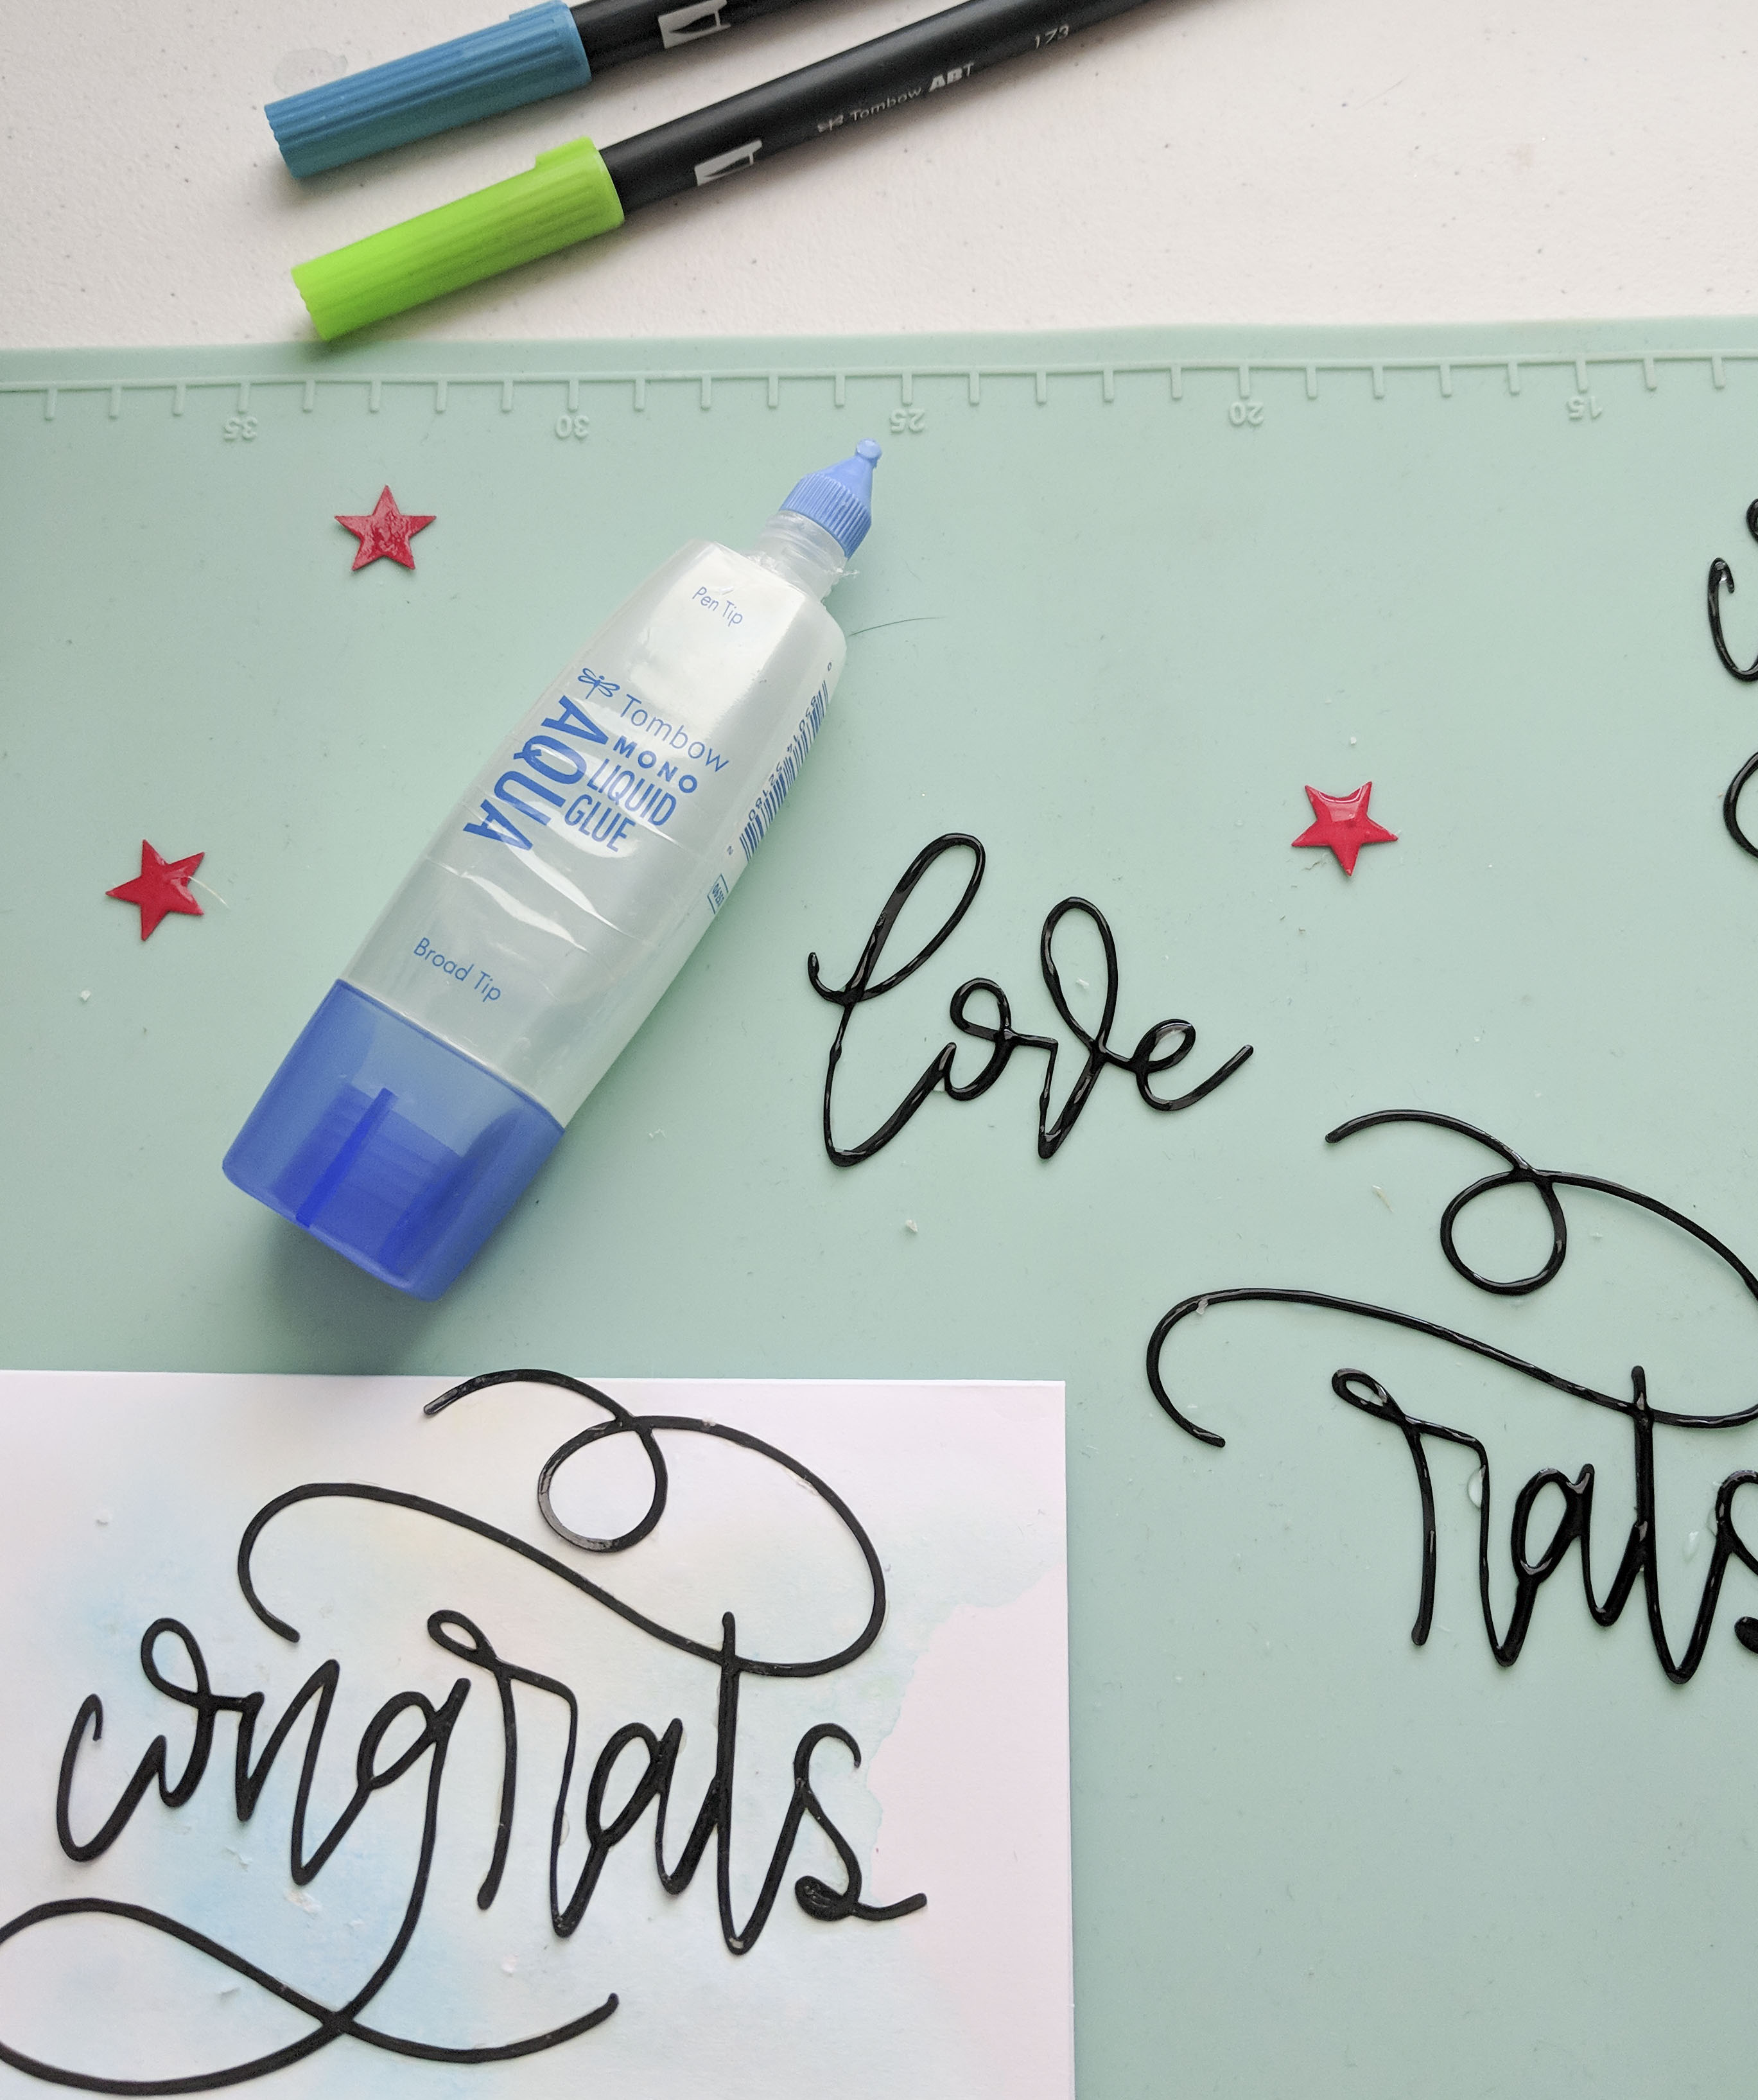
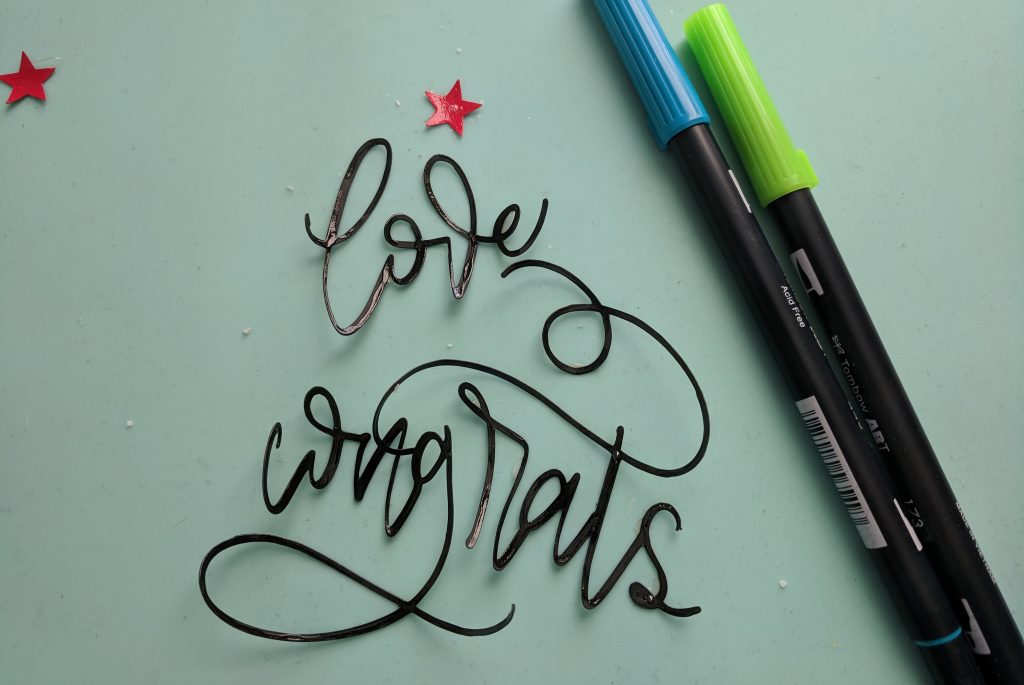
I took a die cut of my own writing – I used a black cardstock and cut it out on my Silhouette Cameo. I also cut out a few stars using an old Fiskars punch that was sitting on my desk. I put the words and stars on my silicone mat – I use this one from Wilton because it is inexpensive and heat tolerant so I can use my heat gun on top. Plus, nothing sticks to it!

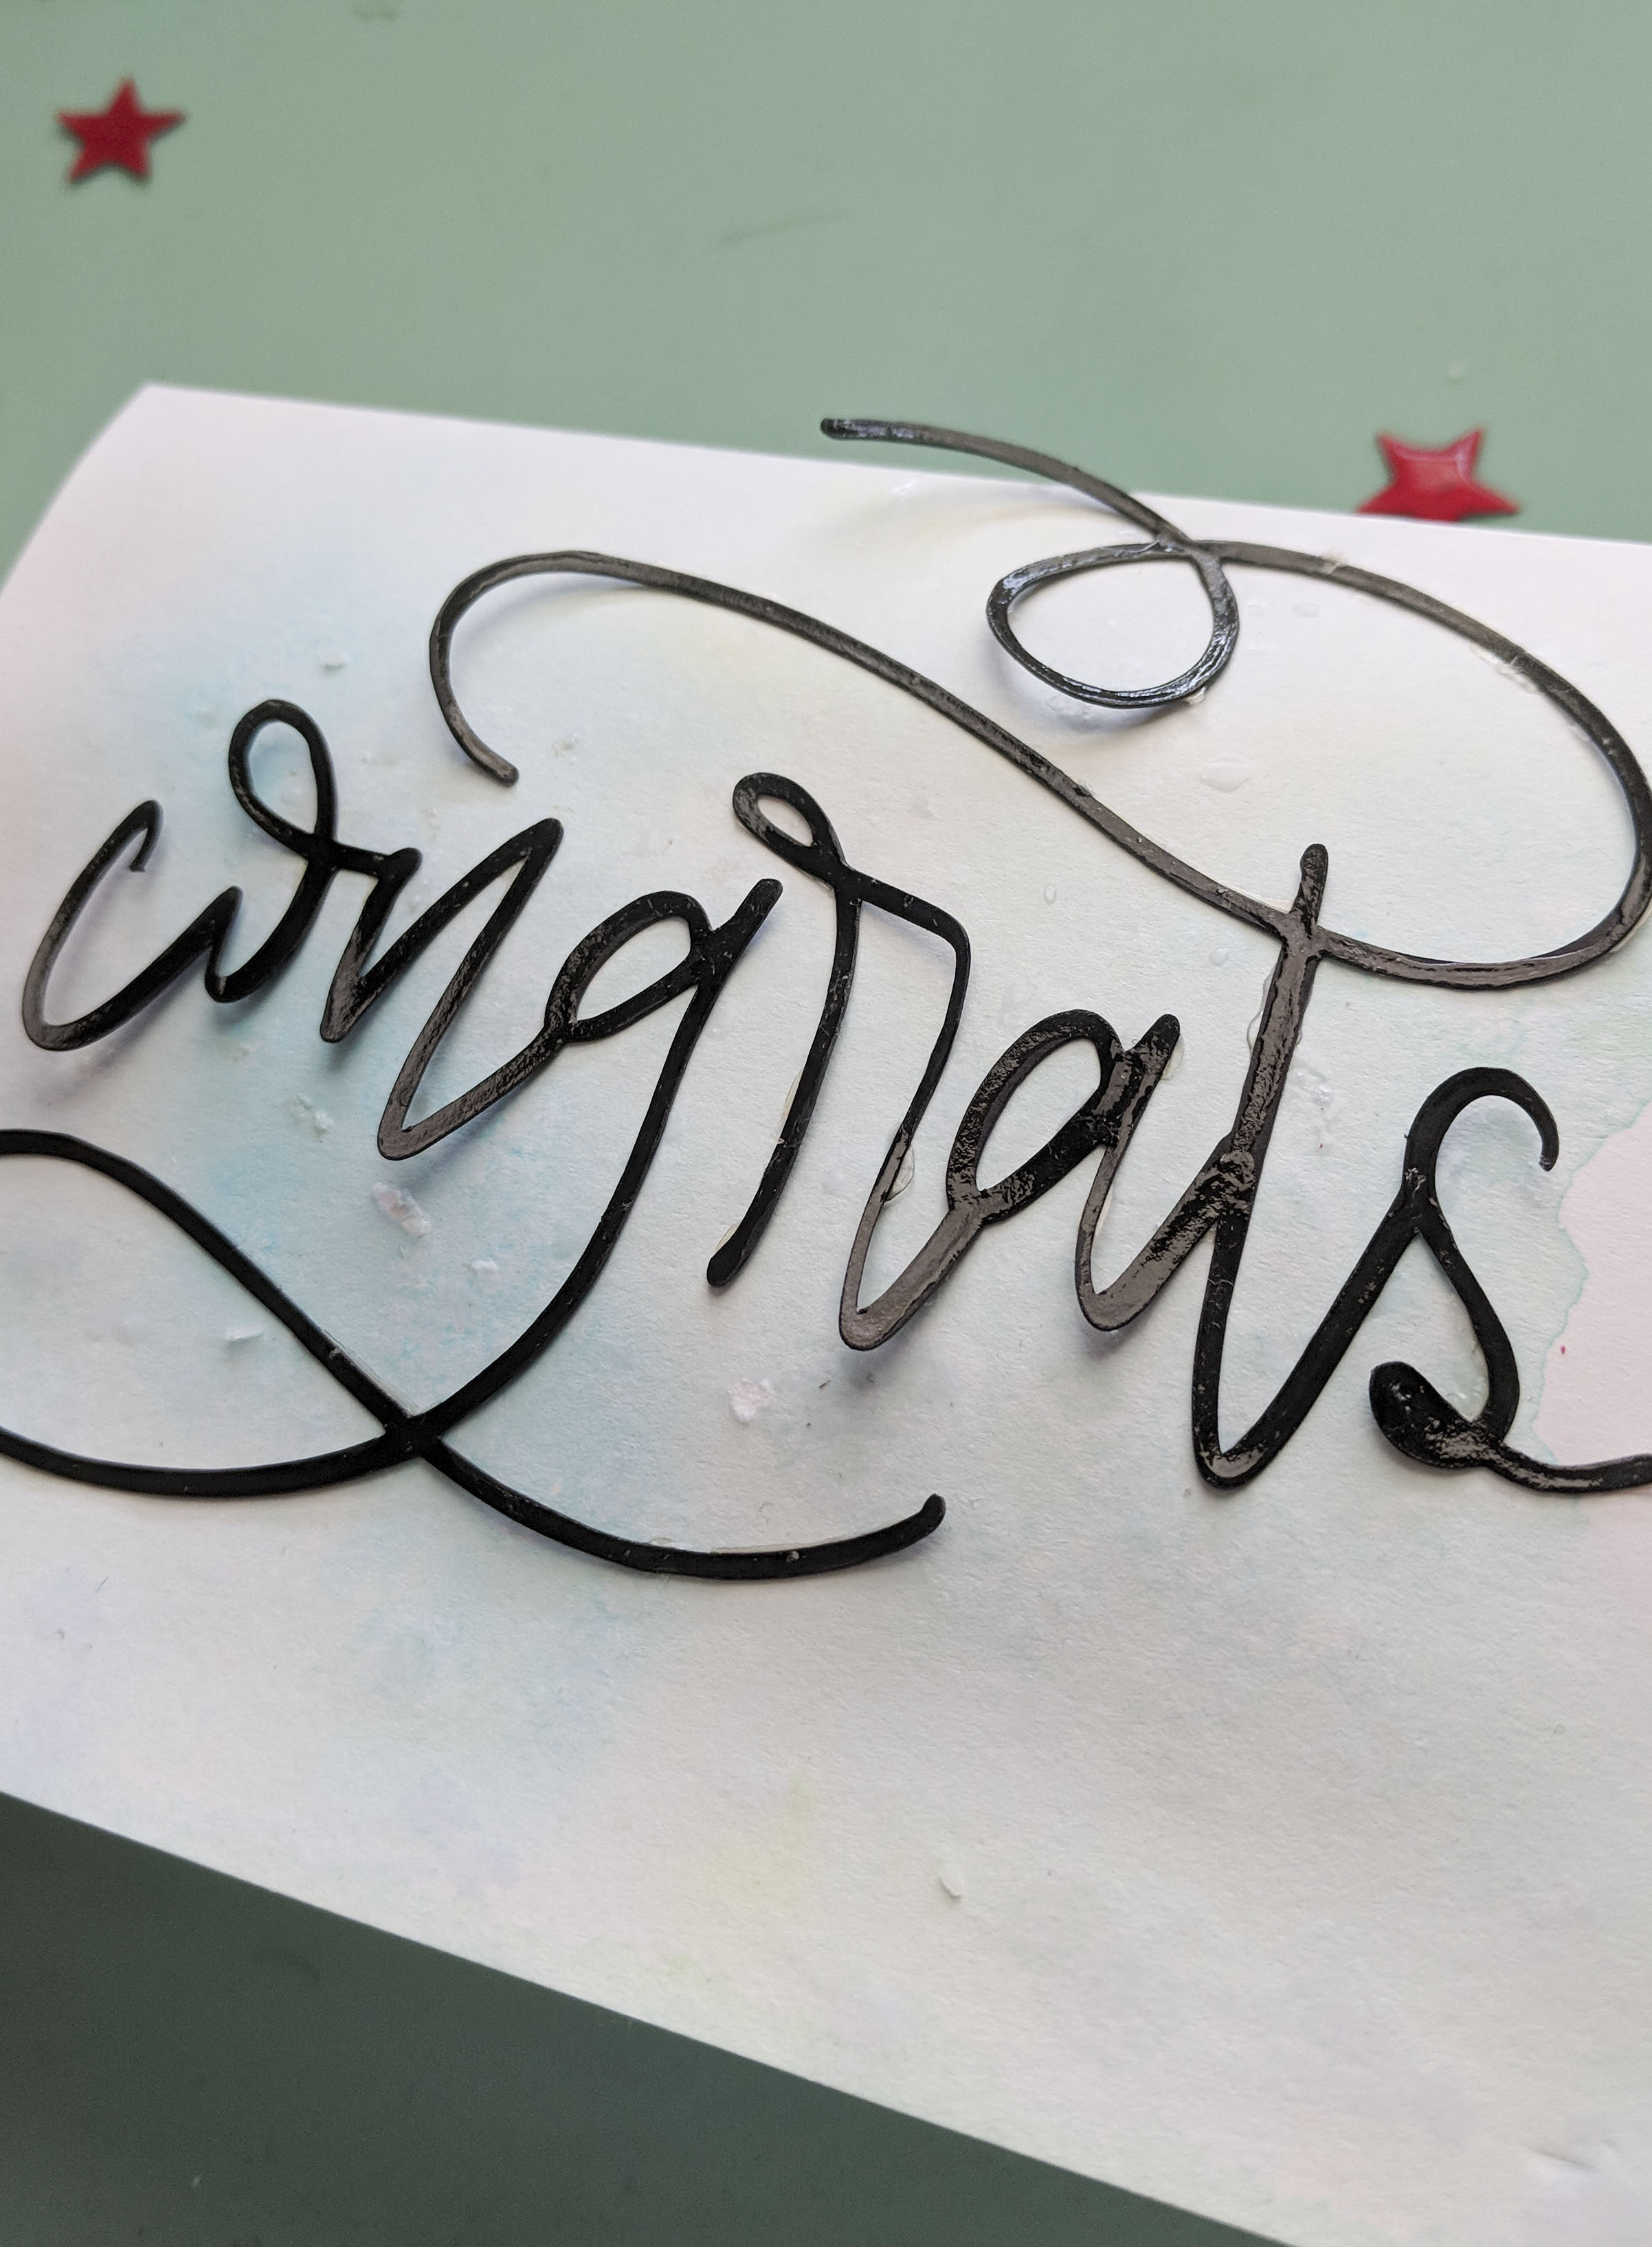
On top of the die cut, make a smooth even line of glue and follow the lines of the word or shape. My favorite is the Tombow Mono Liquid Glue Aqua – it is clear! The goal is for it to be even and on the cardstock! Any excess can be trimmed with a pair of scissors once the whole thing dries. Once it is covered in glue, set it to the side for at least 2-3 hours. I like to do this right before bed or when I leave to run errands, so it can dry completely and I won’t touch it because I have the patience of a three year old. Once it is dry, it will have a smooth, shiny finish that will make the little cut out look way fancier and add a level of sophistication to a homemade card. Also, if you get little bubbles in the glue, you can pop them with a straight pin or toothpick without messing up the overall sheen and shape of the glue.
My card background was made with two Tombow Dual Brush pens (#443 and #173) scribbled on my extra large blending palatte. I added a bit of water and flipped my card onto the palatte. I pressed it down, dabbed up the excess and turned it back over to dry. I did sprinkle a little bit of kosher salt on the puddles to give it a little texture too! When it dries, brush off the salt, and voila – a textured background!
Then, I just added a little more of the same Tombow Mono Liquid Glue to the back of the card and glued it down! It is simple and easy, but the shine adds some extra dimension! And, without drying time, it only takes about 10 minutes.
I have done this technique with a product called Glossy Accents in the past. I like using the Tombow Glue better, because it dries faster and is easier to squeeze out in a controlled line. Plus, the tip doesn’t clog up.
Check out this video to see the whole process in real time:
I did forget to add one thing – if you have a bubble inside the glue, you can pop it with a straight pin!
I would love to see what you emboss! Tag me on Facebook or Instagram or drop a line in the comments!
Go get your letter on!